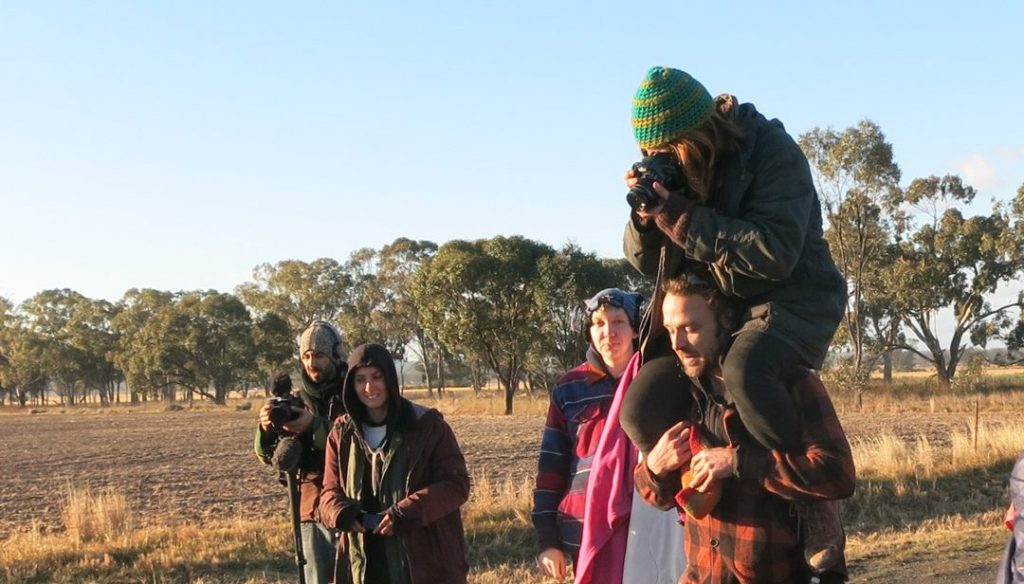
Guide to help photographers prepare for an action or event
Started by Chelsea, Sam and Rachelle | Leard Blockade
Day/Night Before Action
Prepare gear
- camera-set to raw and jpg (or just jpg)
- lenses (wide, mid-zoom, and telephoto)
- batteries-charged
- Memory cards
- laptop-charged and has appropriate software
- card reader
- internet dongle-charged and has credit
- phone-charged and with credit
Check the phone coverage of the area you will be in. Will your phone/dongle work where you will be photographing?
Read and pack a copy of the Street Photographers Guide. This will help you understand your rights while taking photographs.
Take portrait of the action participant.
- having more than one option is best (ie. smiling and serious)
- upload and resize
- give portrait to media team
Buddy
- Check out the “Action Photo Coordinator” document
- Work out with your buddy how you plan to work together.
- Does your buddy know the software you plan to use
- Your buddy’s job is to assist you while photographing so you can get as many good shots as circumstances will allow. Discuss with your buddy what your expectations are and vice versa. This will make for smooth running at the action.
Some of the jobs you might want your buddy to do are listed.
- people wrangling
- carrying gear
- uploading images
- selecting images
- resizing images
- metadata
- sending images to media team
Day of Action
Double check you have all your gear before you leave camp
At Action
As soon as everything is in place, get key shots–you never know how long you will have before you aren’t able to photograph anymore (police move you on, etc.)
Recommended Shots
- Wide shot of action
- portrait of participant in place
- group shot if there are supporters (with banners etc)
- make sure everyone is on the same page (all smiling or all green steel, etc.)
- side areas/supporting shots (ie, trucks backed up, workers waiting, etc)
Upload (Onsite)
- (have another memory card in the camera so you can continue to shoot)
- JPG, resize to 1500px across, SRGB, high quality compression
- choose key shots and send them to media team-cut it back to around 6 images
- keep shooting when police/police rescue arrive (shoot as much as possible before they get a chance to tell you to stop shooting. But try to remain discreet.)
- upload second lot of photos after police presence after re-send another 6 or so to media team again.
Back at camp
- go through all photos- pick your best (up to around 30), these should give a good run down of the whole action.
- give full resolution jpgs (AND RAW if available) to picture desk.
- return all borrowed equipment to it’s original place (ie, dongle, etc)
General Notes
- A long lens can really help you to keep photographing after police have asked you to move along but try to be discreet about it!
